
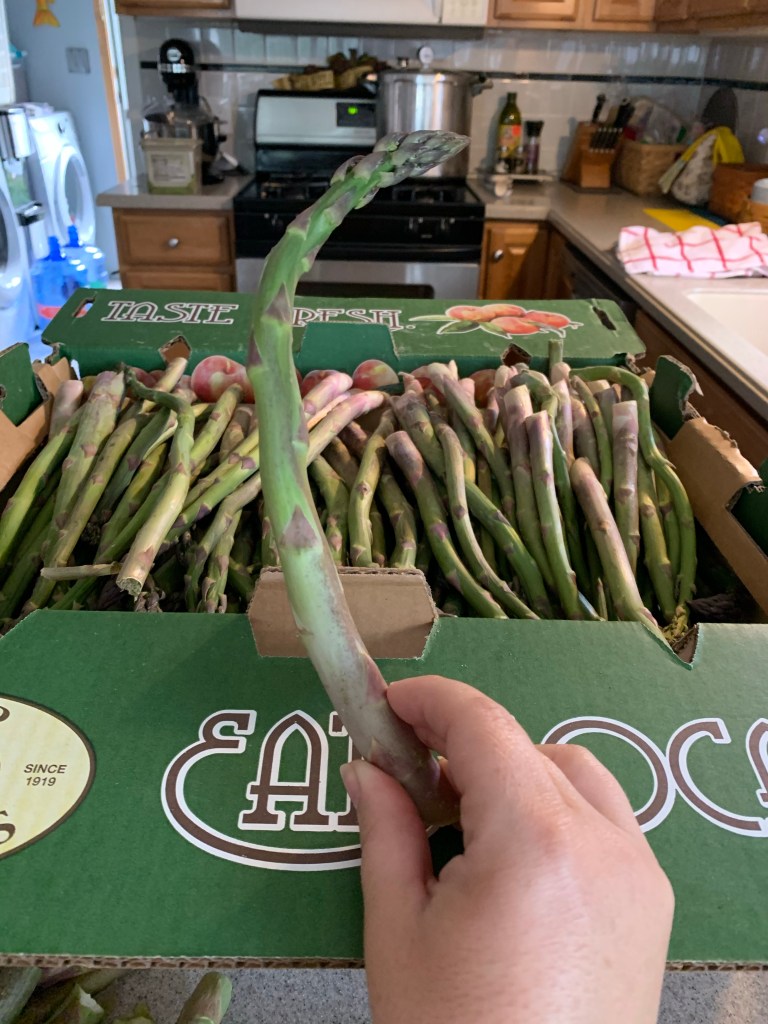
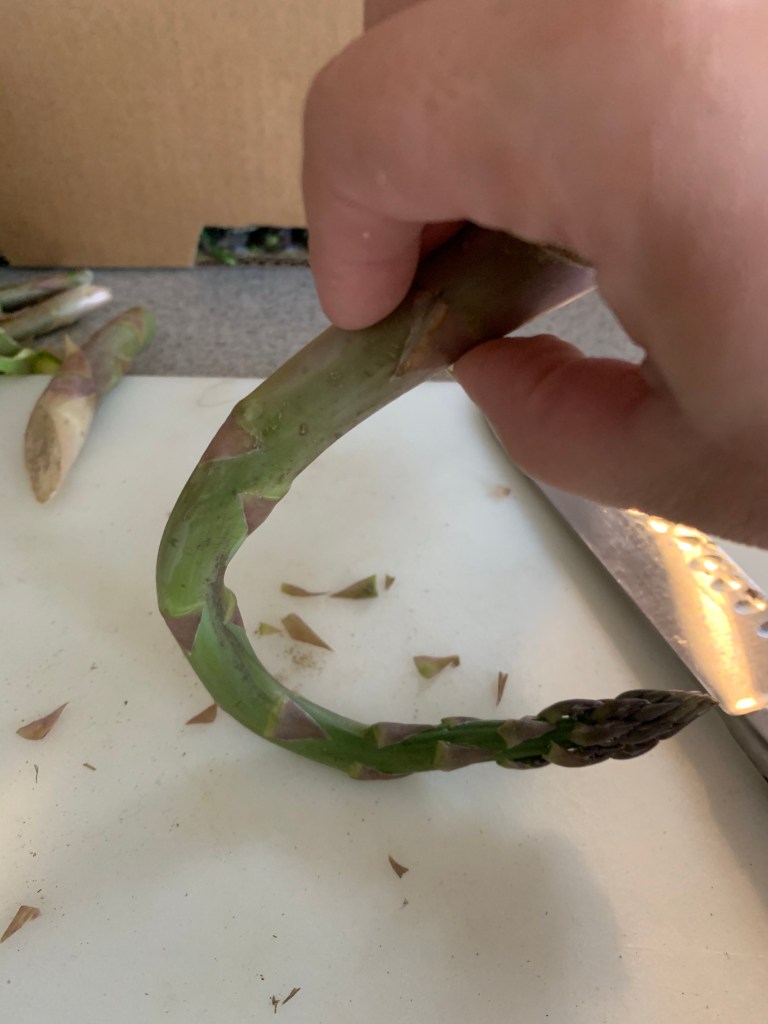
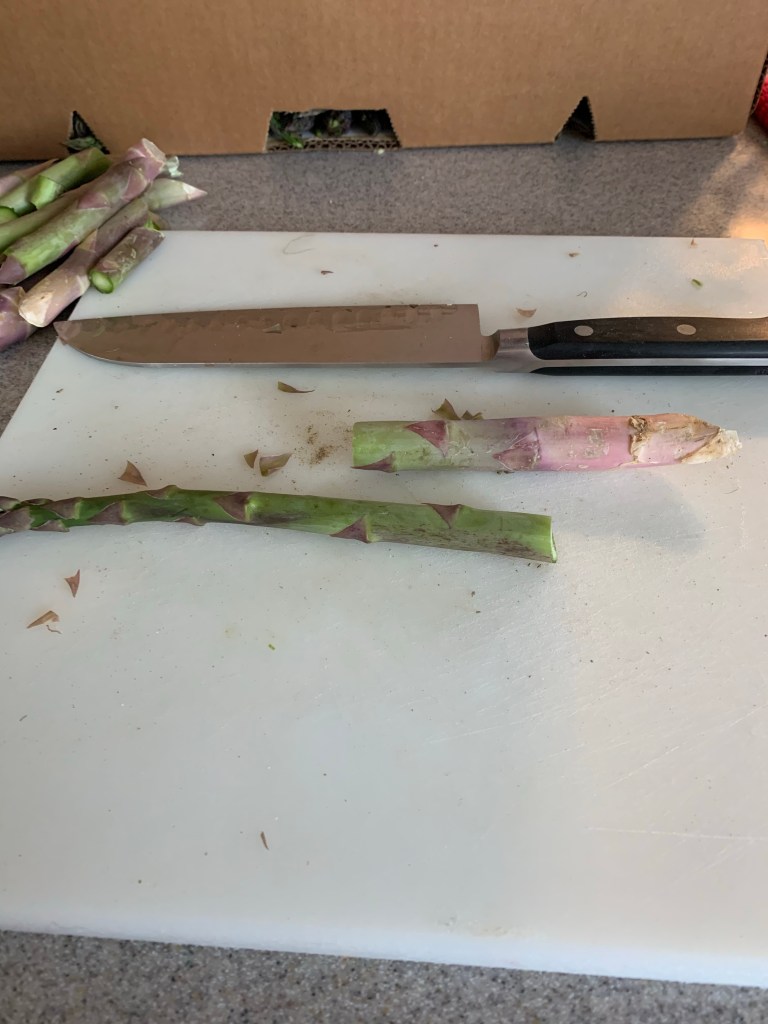
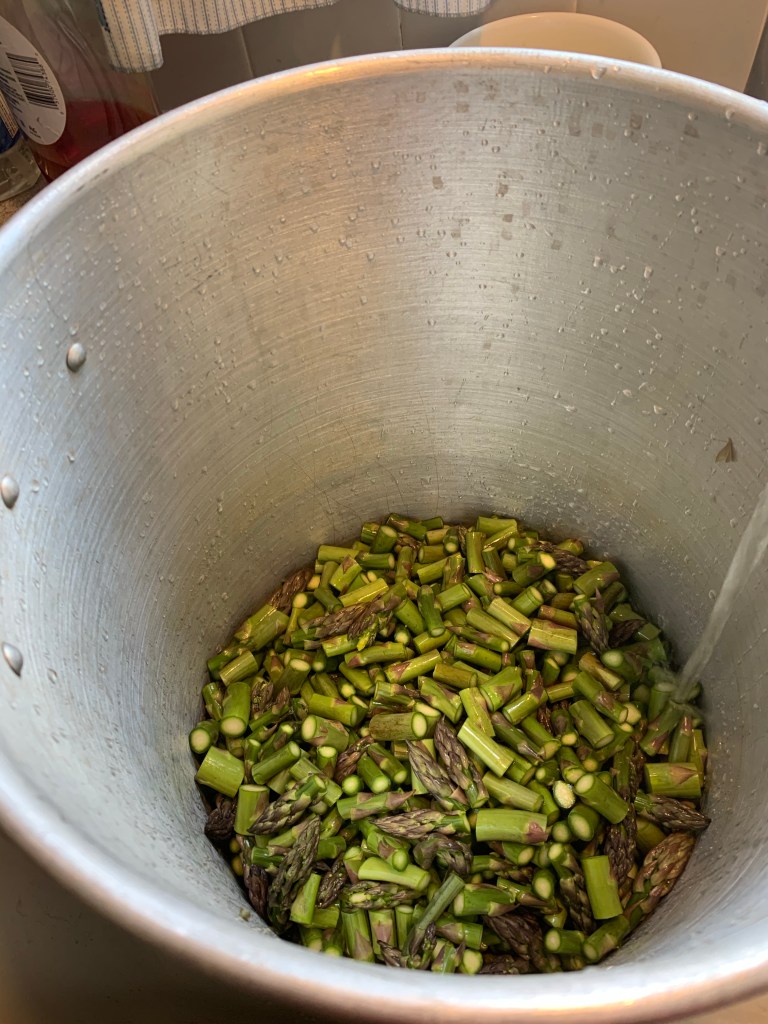
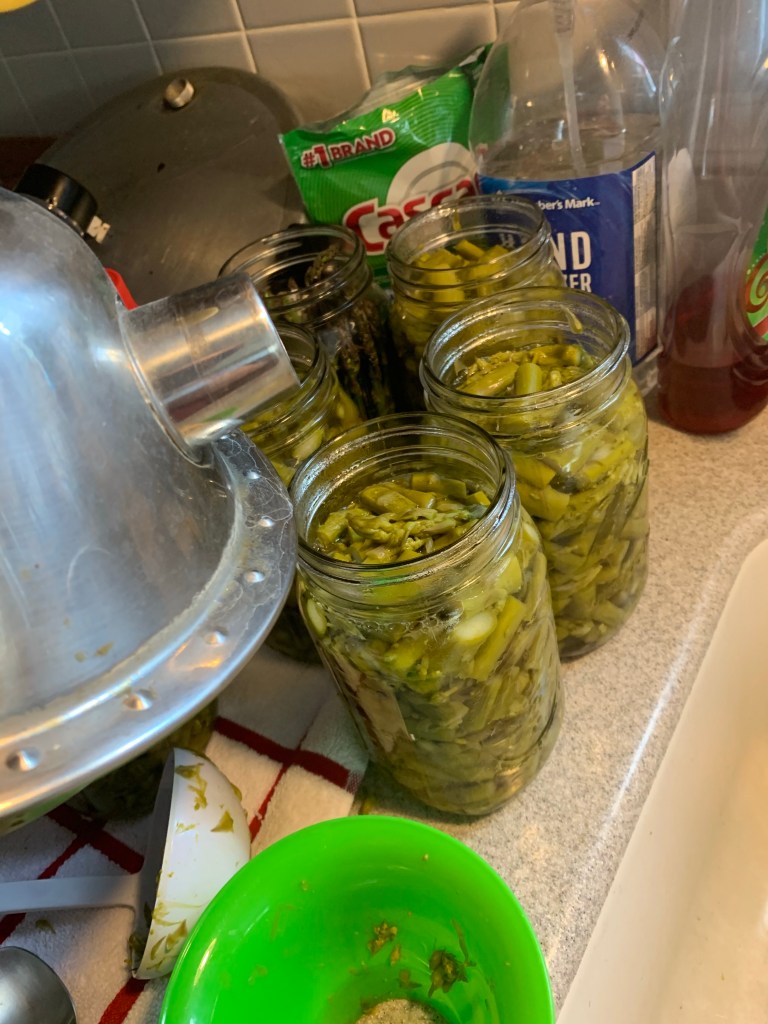
Yes, you read that right….it’s canning season. Things have started to grow and cold weather crops are coming into season. For me in growing zone 5, this means asparagus has peaked and is being sold in the local markets. Prices for asparagus will never be cheaper than they are right now, which makes it a perfect time to put some away for the rest of the year. Since social distancing is in effect, even the farmer’s markets bring your items to your car, so I decided to take a chance on “irregular asparagus” meaning, it’s not perfectly straight so they can’t sell it to grocery stores or restaurants. For less than half the price of a regular case, it was worth it. And I cut mine up to can, so these bends and squiggles don’t make or break my final product.
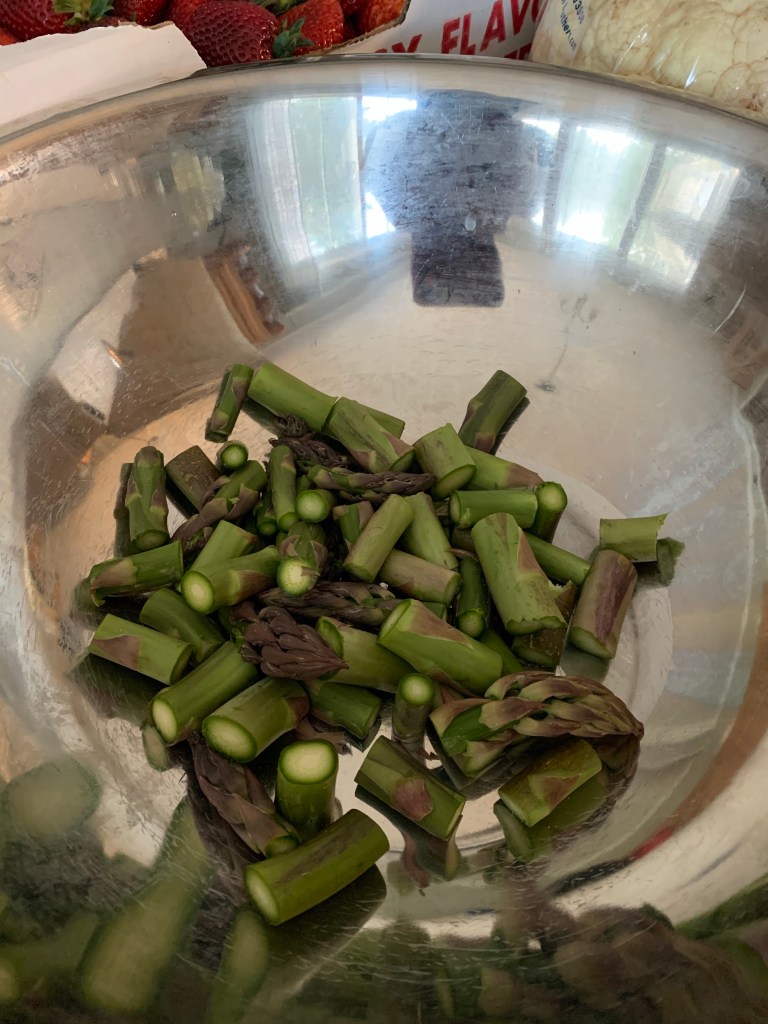
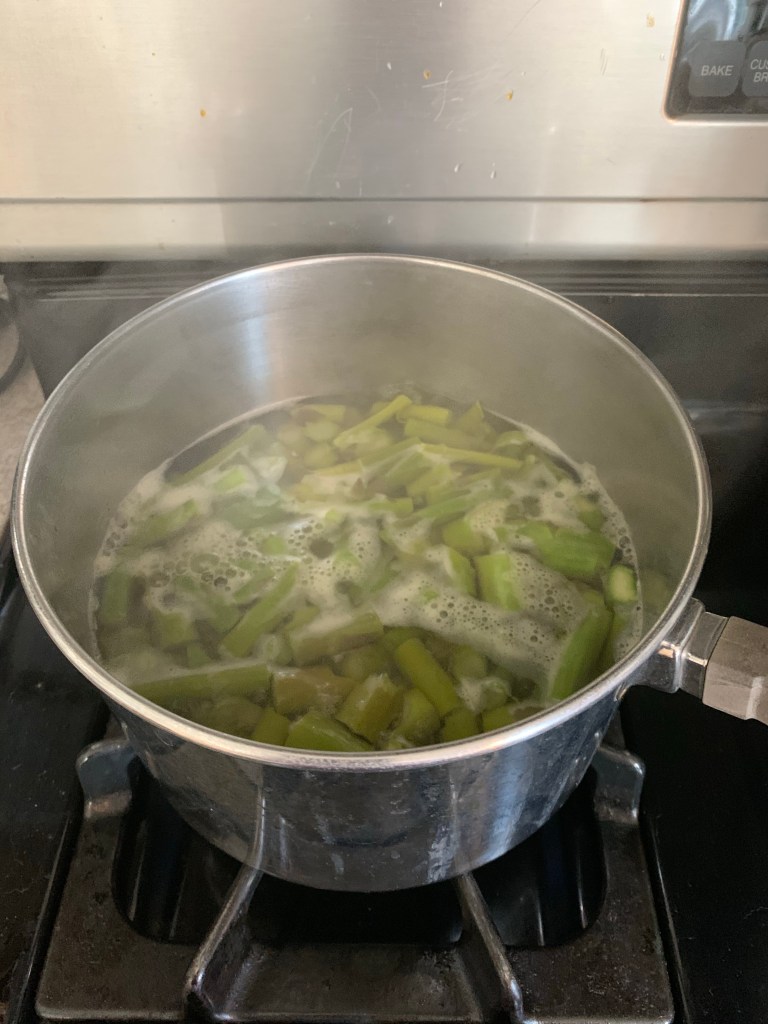
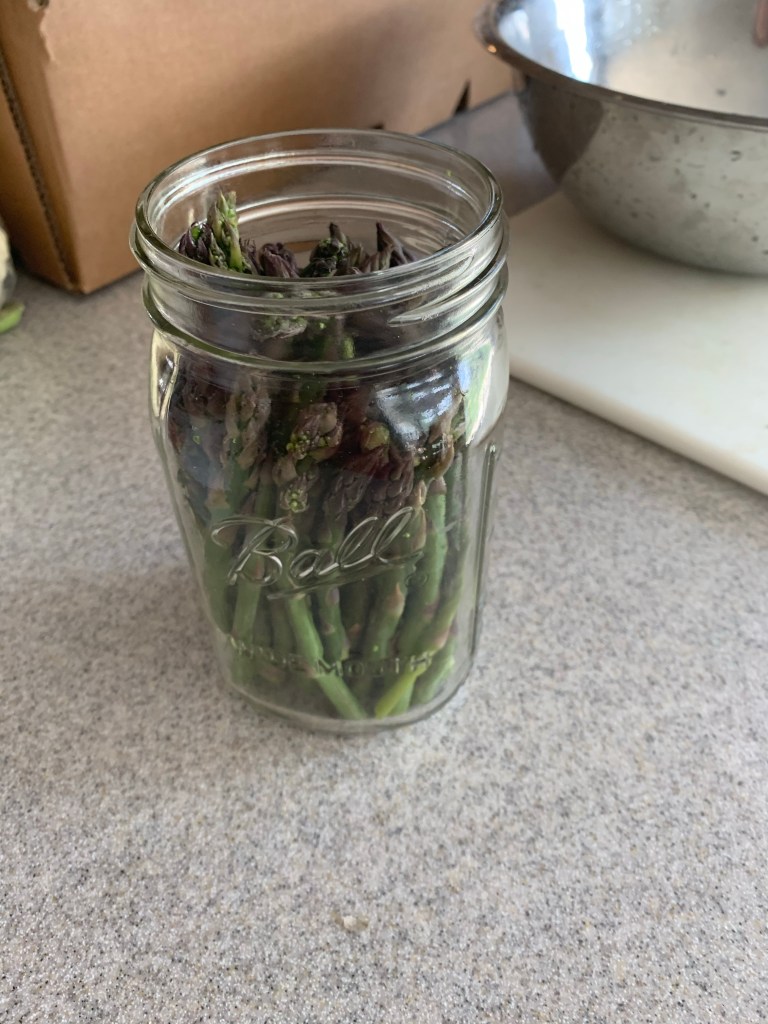
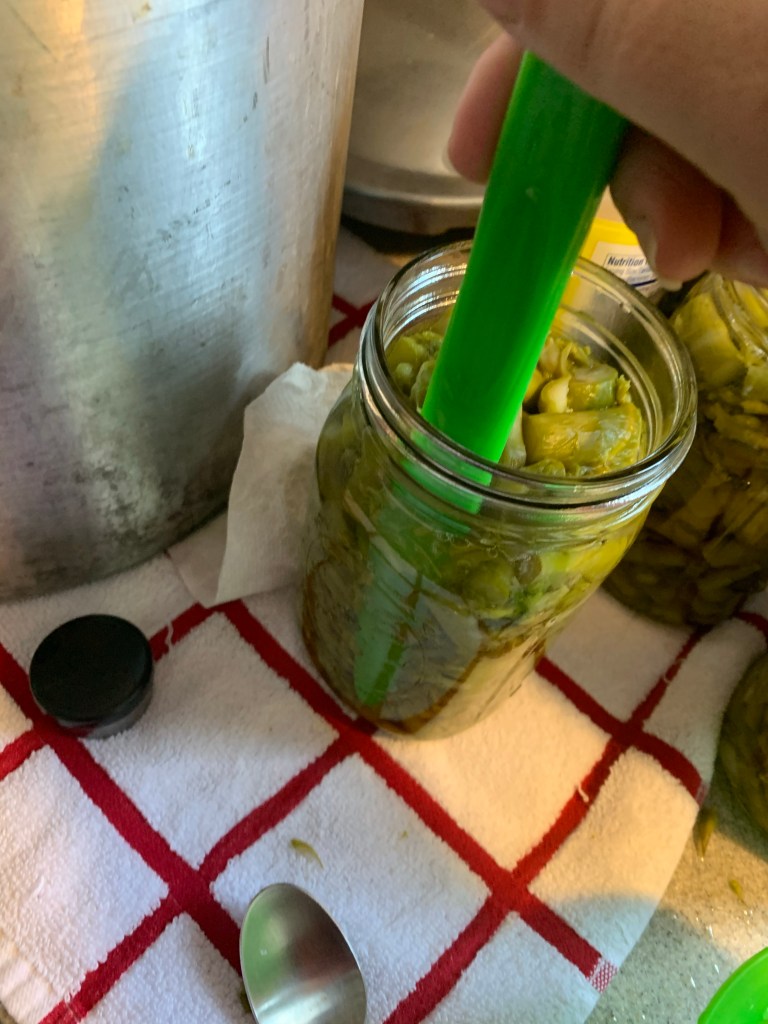
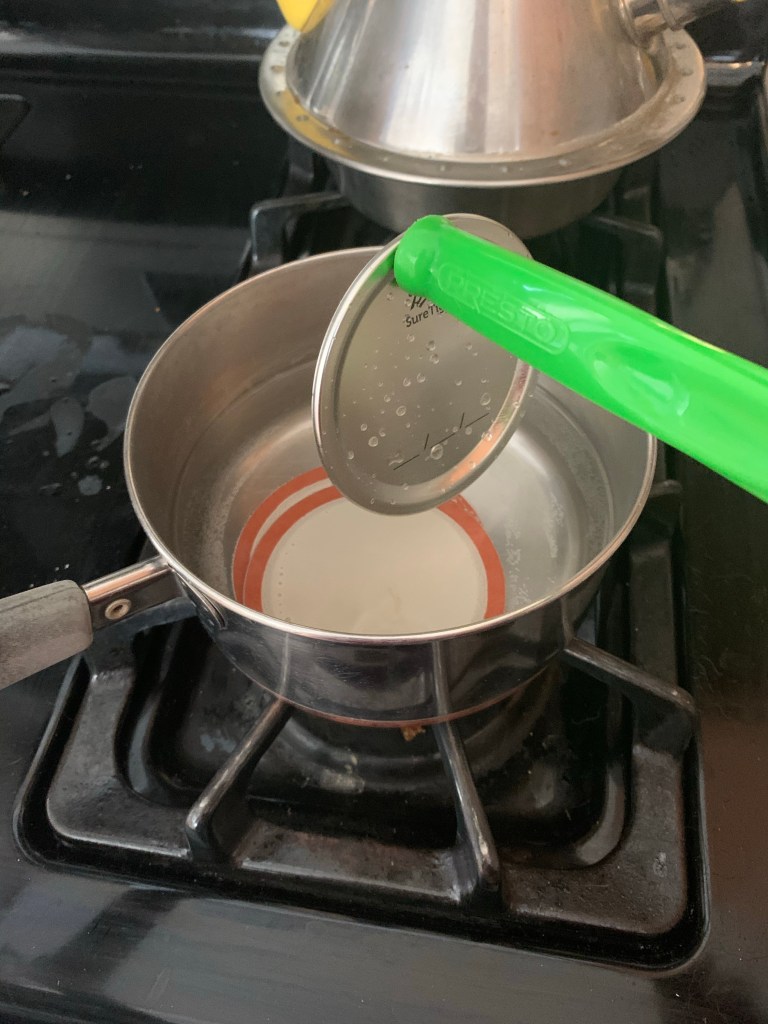
There are two schools of thought when it comes to canning asparagus. You either raw pack it without cooking or you boil for three minutes and put it in hot jars. I am hot packing, since all the pics online show much more being able to compress into the jars when it’s hot. I will raw pack many vegetables, but not this one. It’s all up to personal preference.
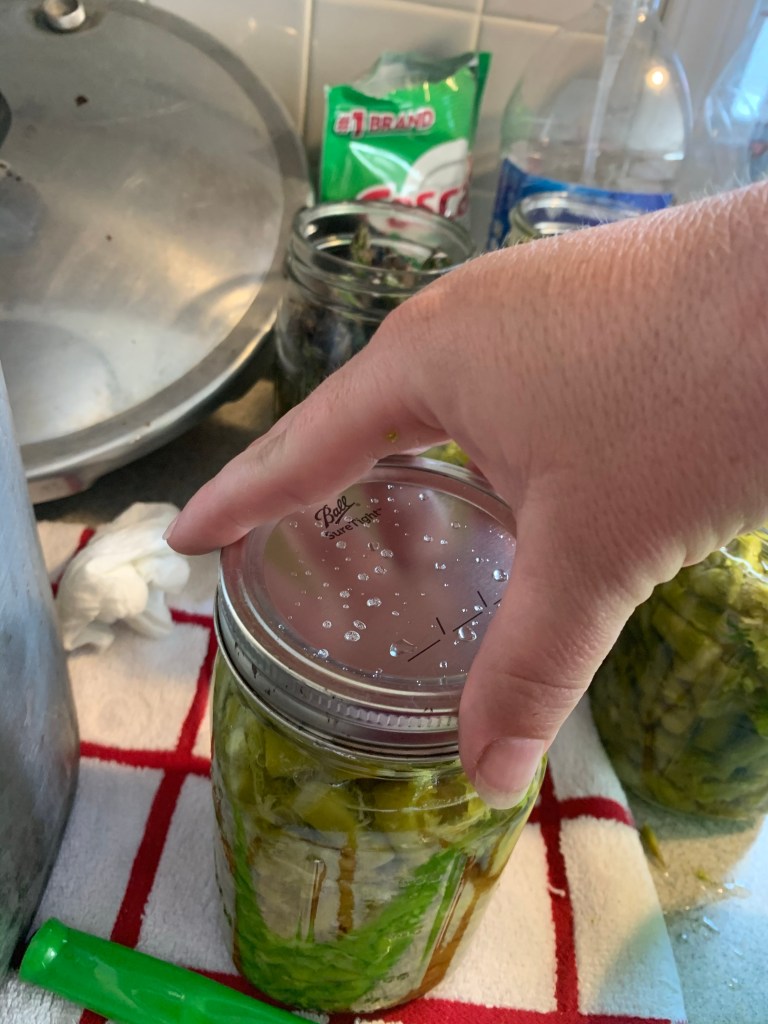
For quart jars, you’ll need to process the jars at ten pounds of pressure for 40 minutes. Higher elevations need to process at higher pressure amounts, but that information can be found on the Ball website depending on where you live. I’m pretty much at sea level.

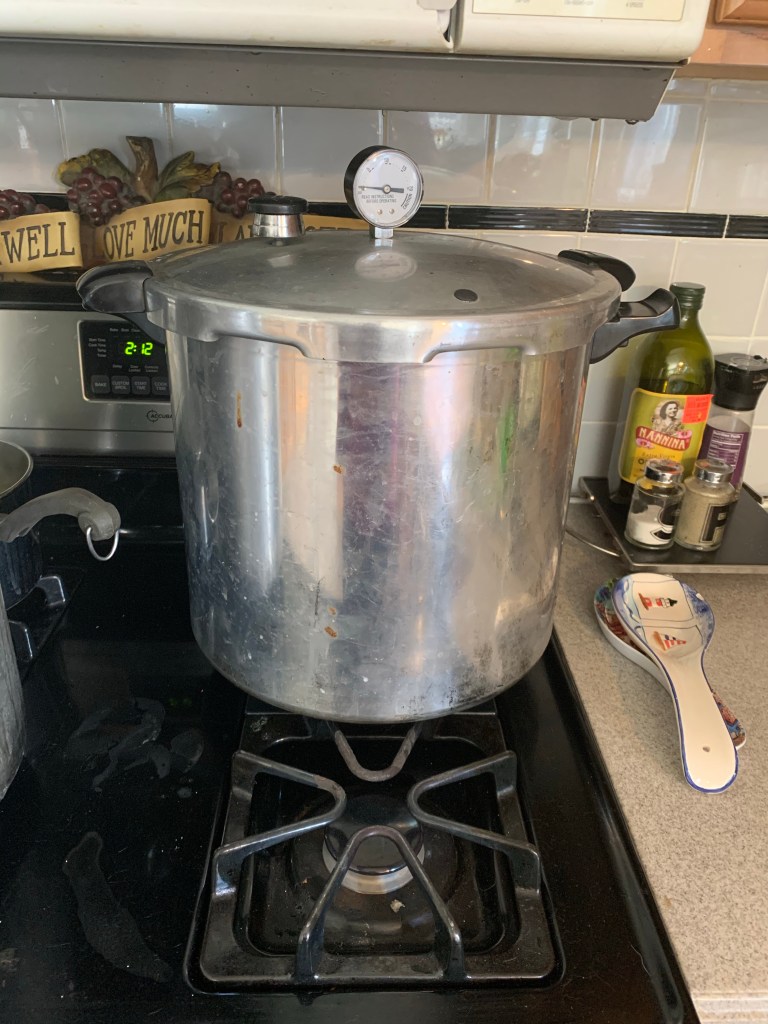
So here is my disclaimer: If you are new to pressure canning….I’ll break this part down for you, as pictures won’t help. Any kind of pressurized pot of today has many safety features since the cooks that came before us use to blow them up in their kitchens. They either lost track of time, lost track of pressure, didn’t secure the lid properly or a manufacturer defect spelled disaster by way of contents exploding all over the kitchen and pot parts that became projectiles. This is no joke – these pots are dangerous and should be treated with respect. They need a set of eyes on them at all times while on the stove, quick potty breaks being the only exception. I don’t even trust the computerized models that adjust the pressure for you….give me old school pressure dial any day. I want anything under pressure in my kitchen completely in my control.
Pressure canners of today have safety features that have saved many people from disaster. They have a pressure gauge, a nub to vent that holds the weight, a pressure release valve that snugs shut once the water inside starts creating enough steam and a super duper emergency nub in the front that is designed to be the last resort should pressure get to dangerous levels. This plastic coated nub is never to be tangled with, if it wears out, you can order this or any part and fix it yourself. I ordered a new pressure gauge this year since my old one seemed to be alittle wonky. This is highly pressured, scalding hot water we are loaded with, never mind the glass jars and pot parts.
Bottom line, read your canner instructions, don’t take them lightly, no matter how long you’ve been doing it or how your grammie did it. Science, wisdom and common sense have come a long way since the time of our grandparents….I don’t even think a lot of them had pressure canners….they were just hot water bath canning everything. And yes, food-born illnesses were common back then, only they didn’t have the technology to study it like we do today. Be careful, follow instructions and trust the Ball Canning Book or website….they have put years and years into being safe.
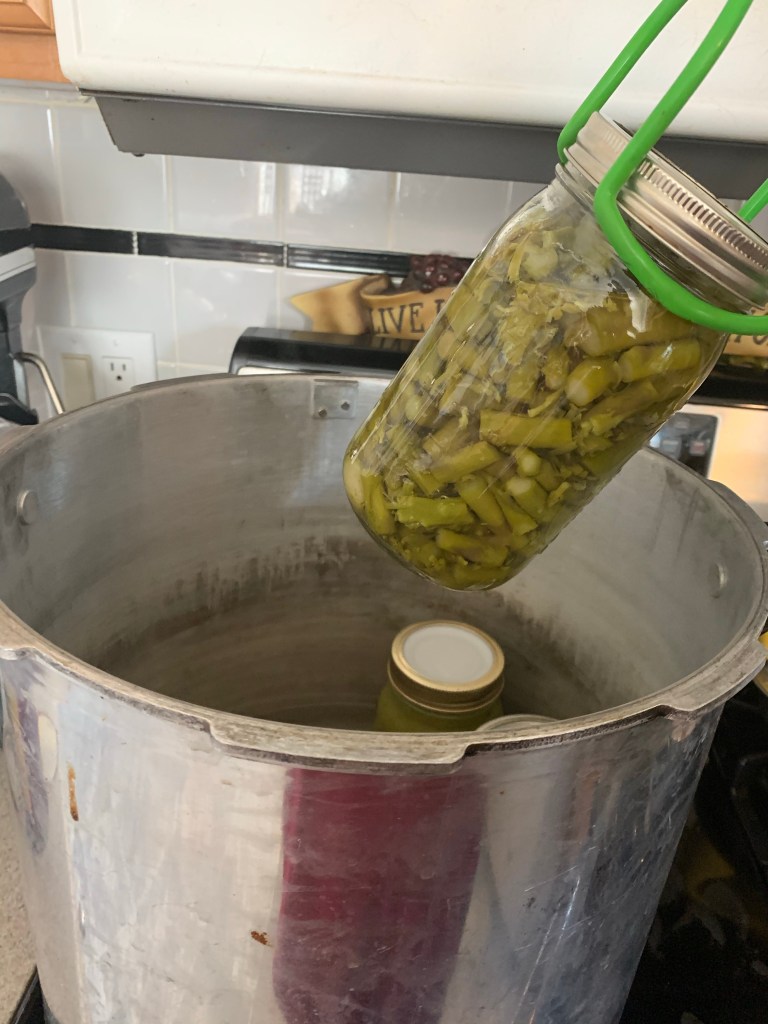
Okay, so after I load my jars into my pressure canner, I secure the lid, leave the weight off, let the pressure release valve steam and shake til it builds enough pressure to snug shut, then I let hot steam shoot through the weight nub for ten minutes. This let’s the steam and jars get good and hot, kinda like warming the car engine up. After ten minutes, I place the ten pound weight on the nub and watch the pressure build on the gauge until it’s at ten pounds (I usually let it get to 11 or 12). Then I lower the burner temp to try and hold pressure at that level and set a timer for whatever time the contents are specified to process for. In the case of asparagus, it’s 40 minutes. I stay in the kitchen, I watch the dial and make sure pressure doesn’t fall below 10 pounds of pressure. If it does, I have to start my timer all over again at 40 minutes. Yes, all over again. It’s a drag when that happens.
So after time is up, I turn my burner off and wait for pressure to drop to zero and the emergency release valve to drop also….you remember, the same one that snugged you on it’s own? Usually takes about 45 mins. Once that happens, you can carefully remove the lid (steam and hot jars inside, beware) and gently take your jars out and put them on a heat tolerant surface on the counter for at least 12 hours to completely cool before getting crazy with them, putting them in the cabinet or inviting them to a dance party. The ones that are going to seal correctly are usually bubbling their asses off, the fails are usually not. The fails need to be refrigerated, treat them like leftovers.
Once the successful ones are cool, remove the rings, write what they are and date the lids, put in cupboard and there you have it….you just successfully preserved food!! I am no scientist, so there are many ways and thoughts on different ways to can food. I like to stick with the ball book, although I admit I’ve canned some tricky stuff but for now, let’s play by the rules. Tomorrow, it’s strawberry preserves 🍓 . Trust me, popping open a can mid-winter and remembering the smells and tastes of summer will make all this canning worth it!! 💜🌱💜
